Category Archives: Adult

Welcome to Makers Day (Week)!

Our first Makers Day project is this “Take & Make” Window Star

Make this beautiful transparent window star to celebrate the longer daylight hours!

Pick up your take-and-make kit at the Adult Services desk beginning on Monday, March 21 (while supplies last). The kits contain paper for making one star and the instructions for the star shown above. See below for some other variations you could try! All you need to supply is a glue stick.

Check our blog daily during the week of March 21-25 for more Maker fun and ideas!


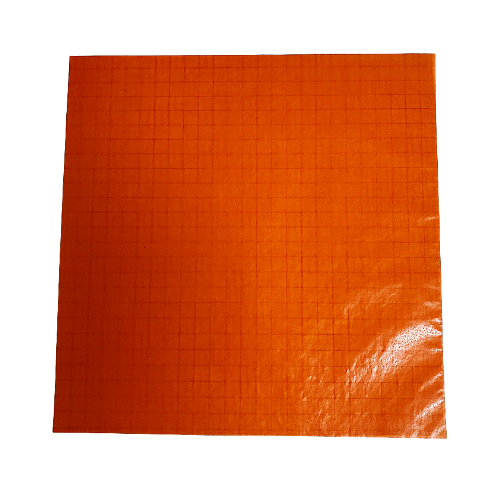
These window stars are made with special transparent paper, often called ‘kite paper.’ If you have your own paper, here are the instructions included in our kits. You’ll need 8 squares–the one’s we’re supplying are six inches, but different sizes can work.
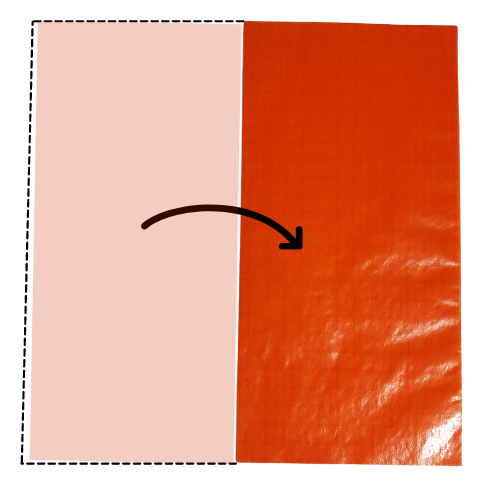
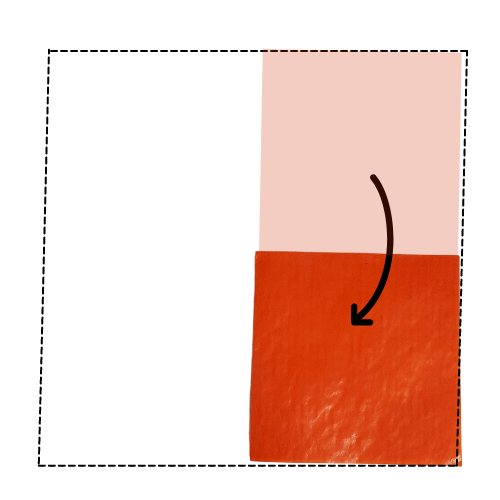
Take one square.
Fold it in half.

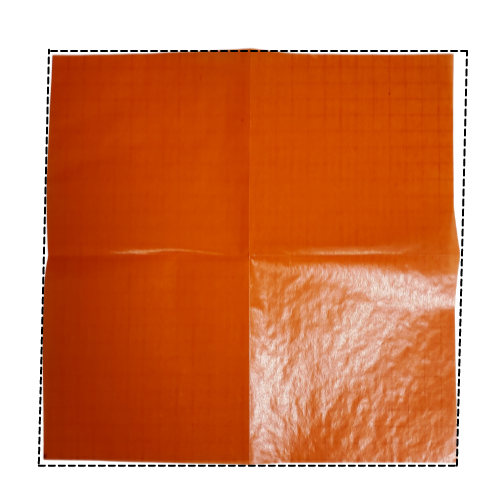
Fold it in half again.
Unfold it–now you have creases to guide you.
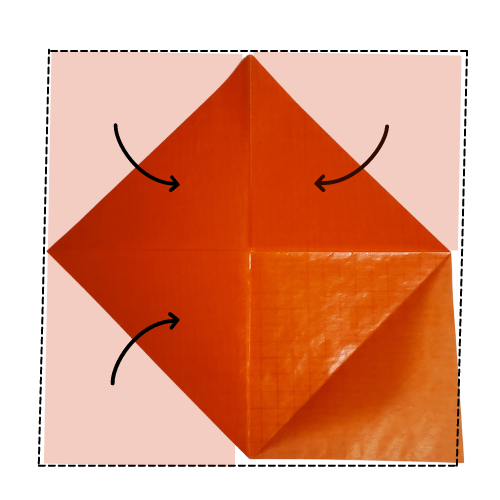
Fold each corner into the center.
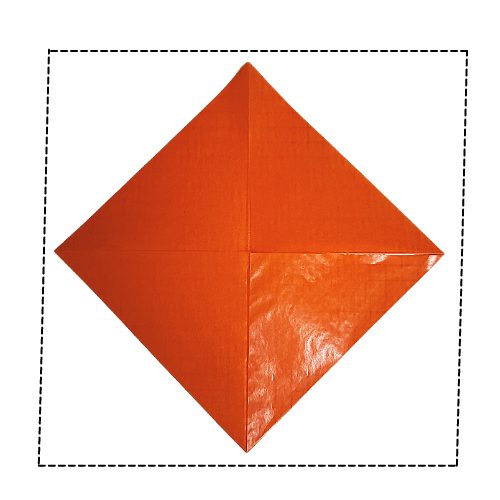
Keep it positioned this side up as a diamond shape.
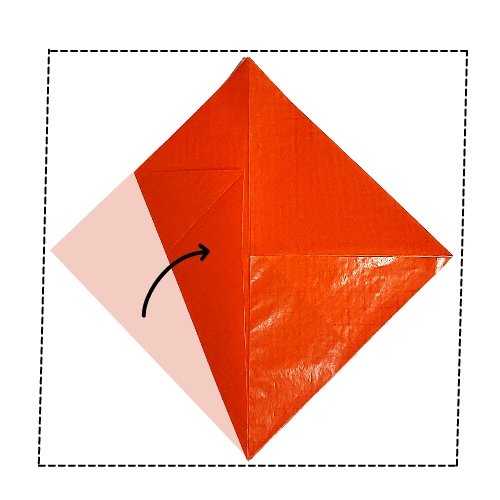
Fold one side into the center.
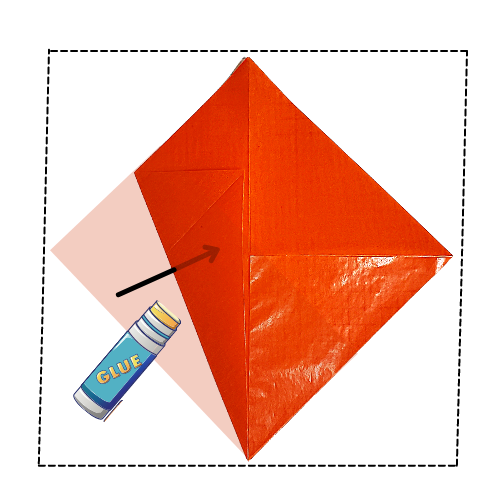
Apply a bit of glue to hold it there.
Do the same with the other side. Repeat these steps with the remaining 7 squares.

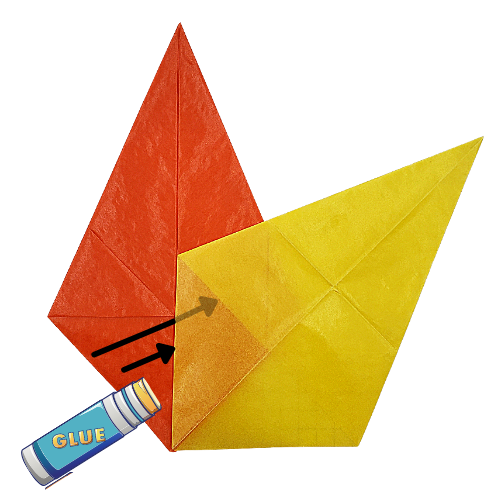
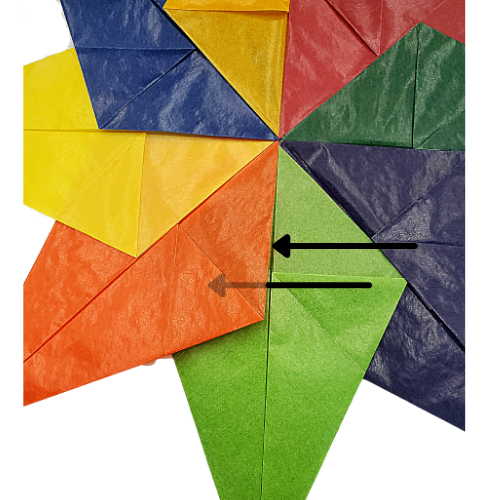
Start gluing the pieces together, one on top of the other–here the yellow is glued on top of the red.
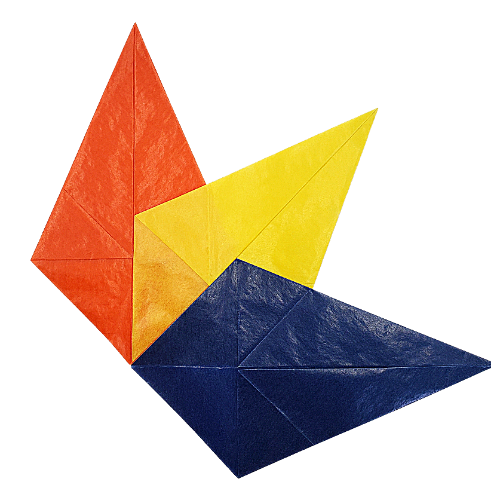
Continue with the remaining pieces, making sure to have the folds facing up.
Tuck the final side under the first piece to complete the star.

Attach your star to a sunny window with small pieces of transparent tape, and enjoy!


Window Star Variations

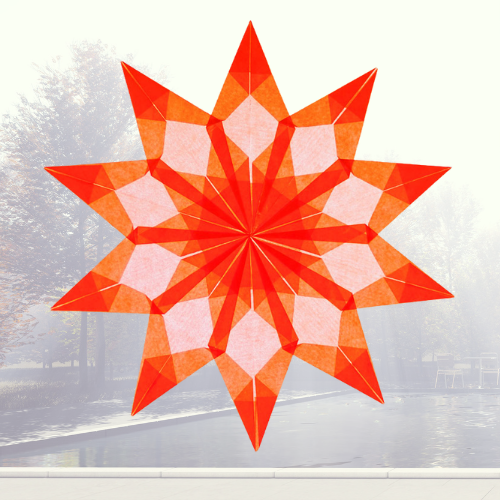
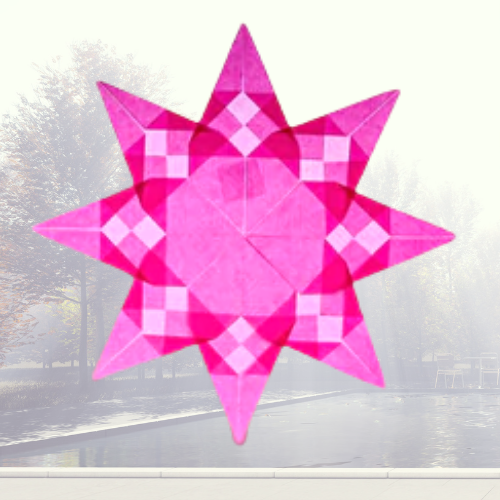
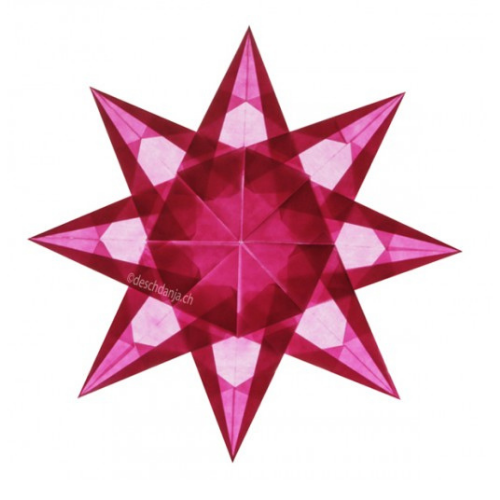
These are almost endless ways to make window stars–here are a few you can try. Each also uses 8 squares.
No-Sew T-Shirt Bag

Have a huge collection of unwanted t-shirts that you’re not ready to part with? Check out this upcycle activity that you can do with your t-shirts using only a pair of scissors (and a marker) – 10 easy steps!

Materials Needed:

  • 1 t-shirt
  • 1 pair of scissors (need to be sharp enough to cut through cloth)
  • 1 market (optional)
  • 1 medium/large sized dish or bowl (optional)

TIP – If using a t-shirt with a logo on it, you’ll want it to be towards the middle of the t-shirt.

Directions:

  • Step 1 – Lay your t-shirt down on the floor or any flat surface.
  • Step 2 – Take a look at your t-shirt and decide visually where your cut marks will go. If you have a logo, you may need to adjust where you cut.
  • Sept 3 – Turn your t-shirt inside out and lay it back down on your flat surface. Flatten it out (does not need to be ironed).
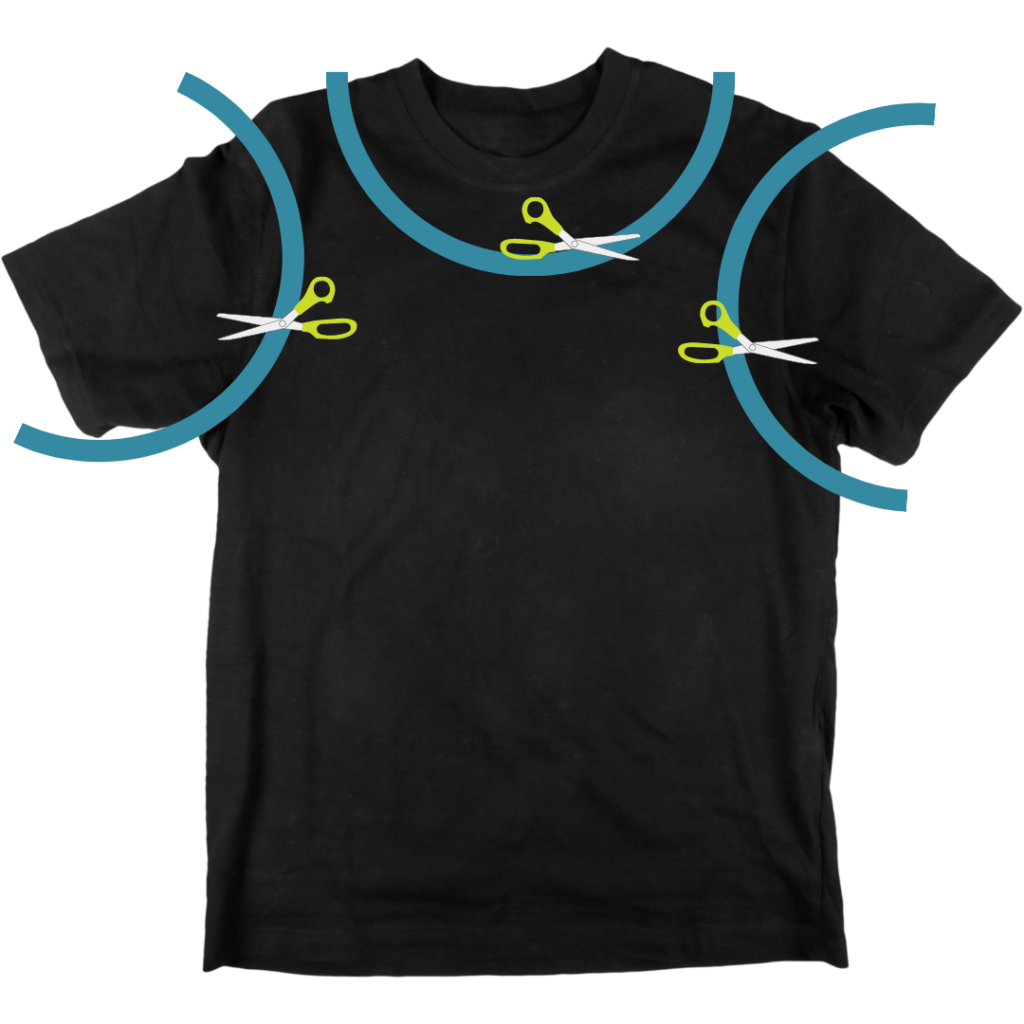
  • Step 4 – Using your scissors, cut off your sleeves (you want to cut just past the the thread marks). It is important that you only cut off the sleeves at this point.
  • Step 5 – Using your dish, place your dish on top of the neck hole. Move it down so you have a half of a circle on your t-shirt and the other half on your surface. Using your marker, draw the half circle. You can also eyeball this part as well if you’d like.
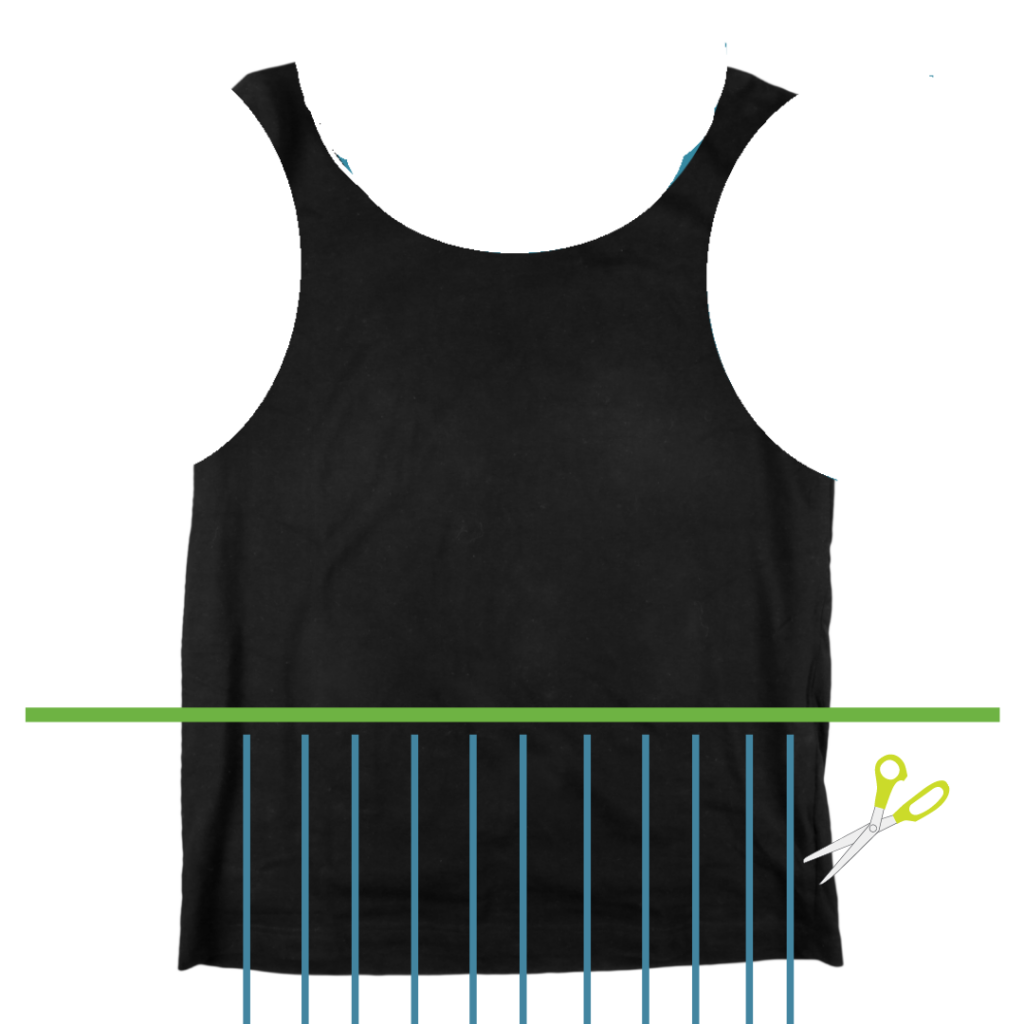
  • Step 6 – Measure 3 inches from the bottom of your t-shirt (or half of your hand). Mark with your marker where this is.
  • Step 7 – Cut out 1.5 to 2 inch strips from the bottom of your t-shirt up to your indicator line. Make sure you cut your end pieces so that the front and back are separated.
  • Step 8 – Make sure the strips are laying flat (you may need to re-smooth out your t-shirt).
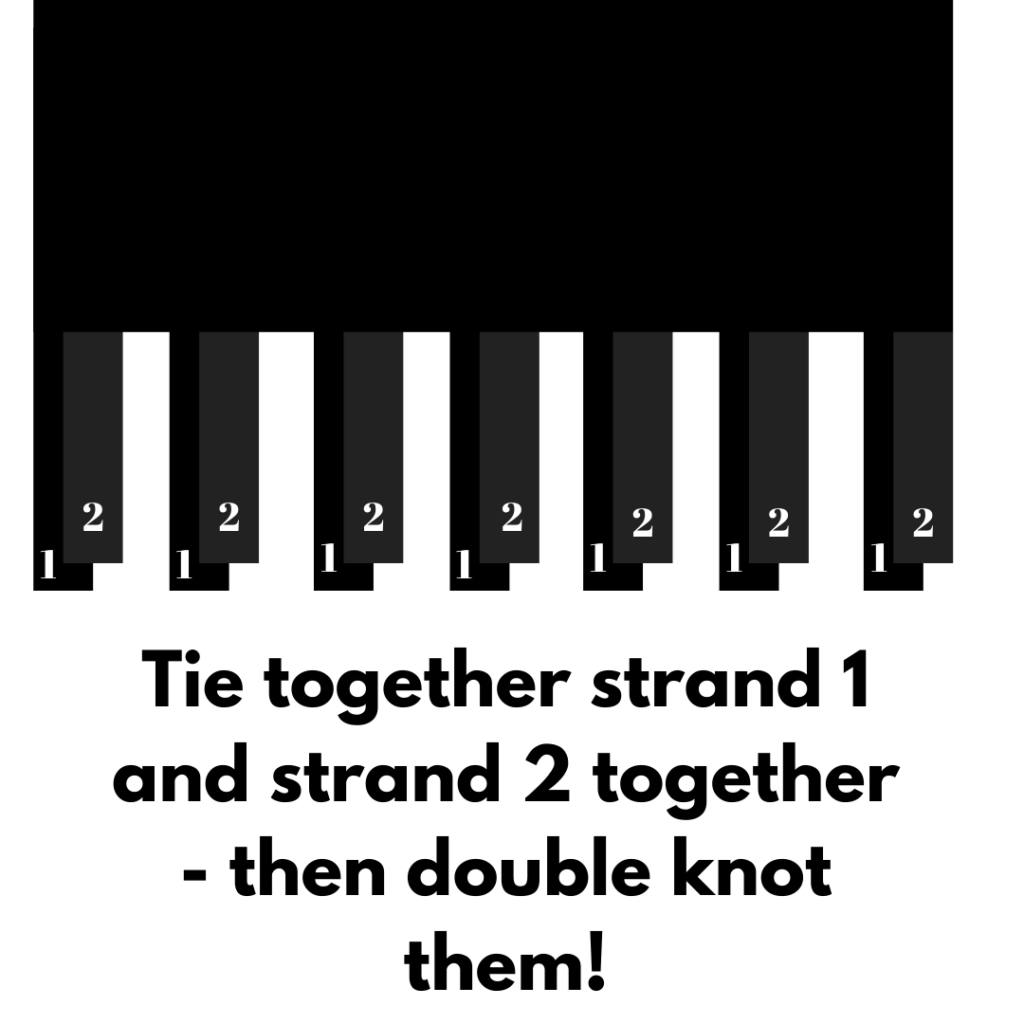
  • Step 9 See how each strip has a strip underneath it? Tie those together. Do this all the way across and then double knot each one.
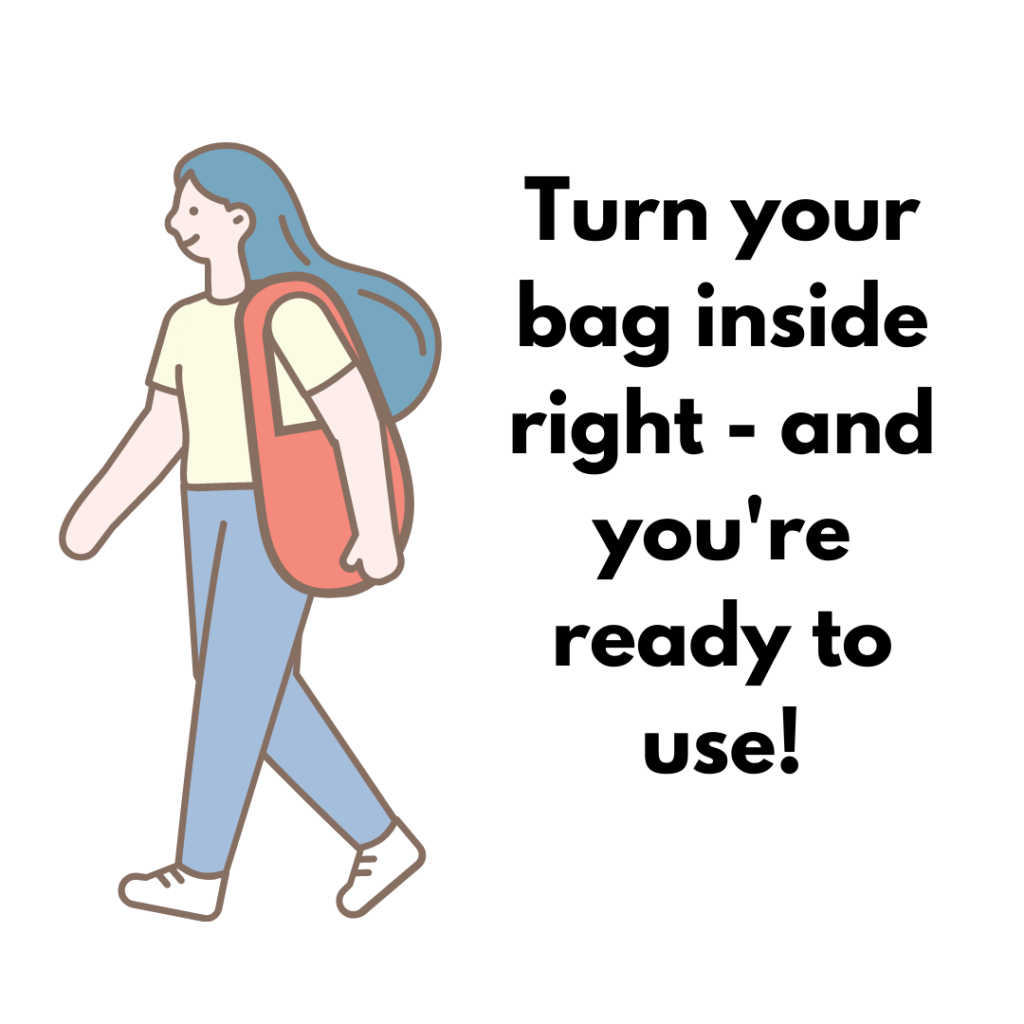
  • Step 10 – Fold your bag inside right – and you’re done!

We Want To Hear From You!

Scotch Plains Public Library mission: to welcome and support our entire community with resources and services that enhance lifelong learning.

While the library building is closed to the public, we are still working hard to fulfill our mission. The Adult Services Department wants to make sure that we are providing programs and services that you can use, even without access to physical materials and space. We invite you to respond to our survey and let us know how we might best meet your needs during this time.